End Package Disputes Now: Package Room Cameras for Multifamily Teams
End Package Disputes Now: Package Room Cameras for Multifamily Teams Every package room needs a minimum of two cameras: one wide-angle unit covering the entry and shelving, and one focused 4K or 4MP camera aimed at the pickup point for faci
Published
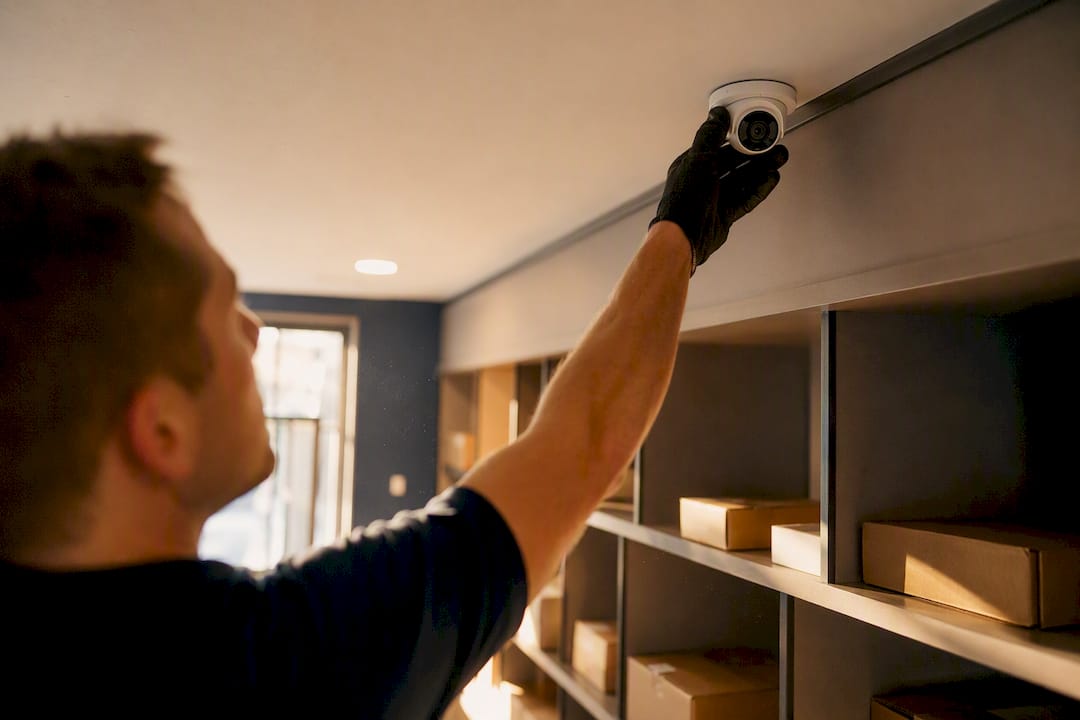
Every package room needs a minimum of two cameras: one wide-angle unit covering the entry and shelving, and one focused 4K or 4MP camera aimed at the pickup point for facial identification. That footage only earns its cost when it links to your access control logs or smart-locker events. Expect to spend roughly $1,200 to $2,500 per room on hardware, with ROI coming from fewer disputes and less staff time. Start with a site survey this week.
TL;DR:
- A minimum of two cameras is necessary: one wide-angle camera at the entrance and shelving, and a 4K or 4MP identification camera at the pickup point for facial recognition.
- Placement should be at 7 to 10 feet high for overview cameras and 7 to 8 feet for identification cameras, with lighting and tamper-proof housing critical for clarity and security.
- Resolution matters greatly, with identification cameras requiring at least 4K or 4MP to zoom in on faces, and storage should cover 30 to 90 days depending on dispute volume.
- Linking footage to access control logs and smart-locker events enhances evidence quality and dispute resolution speed, especially if using cloud-managed credentials.
- Hardware costs range from $1,200 to $2,500 per room, and ROI is achieved when disputes and staff hours are reduced, often paying for the system within a lease cycle.
Table of Contents
- Why Package Room Camera Monitoring Matters (And Where It Falls Short)
- Where to Mount Package Room Cameras for Full Coverage
- What Camera Specs Actually Matter for Package Monitoring
- Connecting Cameras to Access Control and Smart Lockers
- Camera Costs and ROI for a Package Room
- How to Install and Test Your Package Room Cameras
- How Postal Solutions Turns Camera Setups Into a Working System
- Sources
- FAQ
Why Package Room Camera Monitoring Matters (And Where It Falls Short)
Cameras deter theft and settle disputes, but they only do those two jobs well when paired with other controls. Industry surveys cited by security vendors show camera presence can cut theft attempts by an estimated 40% to 60%, and time-stamped footage resolves a large share of “I never got my package” claims fast.
Cameras are fundamentally reactive. They document what already happened; they don’t stop a resident from propping the door for a stranger. That’s why the strongest package room security programs combine video with proactive controls:
- Carrier compliance rules that require scanning packages into a locker or shelf location
- Credentialed entry instead of shared keys or codes everyone knows
- Automated pickup notifications that get packages claimed before they pile up
When a resident disputes a missing package, pulling the identification camera clip alongside the door-access timestamp turns a 20-minute argument into a two-minute resolution, and gives you something concrete to hand a responding officer if a police report becomes necessary.
— Postal Solutions
Where to Mount Package Room Cameras for Full Coverage
Placement determines whether your footage actually proves anything. The two-camera pattern works because each unit does a different job: the wide-view camera establishes context (who entered, when, how many packages), while the identification camera captures a clean, well-lit face at the exact spot residents interact with their packages.
- Wide overview camera — mount 8 to 10 feet high, angled to capture the door and the full shelving or locker bank in one frame.
- Identification camera — mount 7 to 8 feet high at the pickup counter or locker kiosk, angled slightly downward to capture faces without a hat brim or hood blocking the shot.
- Fisheye alternative — for rooms under roughly 100 square feet, a single fisheye ceiling camera can cover the whole space, but pair it with a dedicated identification camera at the pickup point since fisheye lenses distort faces at the edges.
- Signage — post a visible notice at the entry stating the room is monitored; this reinforces deterrence and covers basic disclosure best practices.
Lighting matters as much as placement. A camera pointed at a backlit doorway will silhouette everyone who walks through it, so add supplemental LED lighting if the room relies on a single overhead fixture. Mount cameras in tamper-resistant housings out of arm’s reach, and run cable through conduit rather than exposed along the wall.
Pro Tip: Walk the room at the time of day it gets the most package volume, not midday when the sun is straight overhead. Afternoon glare through a window is the single most common reason identification footage comes back useless.
What Camera Specs Actually Matter for Package Monitoring
Resolution is the spec property teams get wrong most often. A 1080p camera looks fine on a monitor but produces a blurry, unusable face when you zoom into archived footage six weeks later.
- Identification camera: 4K or 4MP minimum, since you need enough pixel density to zoom in on a face after the fact
- Wide overview camera: 2MP to 4MP is usually sufficient, depending on room size and how far the camera sits from the action
- Low-light performance: look for wide dynamic range (WDR) and built-in infrared, since package rooms often have uneven lighting near entry doors
- Lens and angle: a fixed focal length around 2.8mm to 4mm covers most small to mid-sized rooms without excessive distortion
- Analytics: people-counting and motion-triggered recording save storage and staff review time; face-capture analytics add cost and raise privacy questions, so weigh that against your actual dispute volume
On audio, skip it. Recording sound in an enclosed common-area package room adds liability and privacy exposure without a proportional gain in evidence quality, and most security guidance for enclosed spaces like this recommends leaving it disabled.
Connecting Cameras to Access Control and Smart Lockers
Footage without a timestamped access log is just a video file. The value shows up when you can pull the exact clip tied to a specific door-open or locker-retrieval event, instead of scrubbing through hours of recording to find the moment that matters, a process streamlined by Arthur’s property efficiency tools.
- Use cloud-managed credentials rather than shared keys or codes, since credentials generate per-user logs you can revoke and trace to an individual
- Ask your video management system (VMS) vendor whether it offers native connectors to your locker or access-control platform, since many mainstream VMS platforms already integrate with common locker APIs
- Request exportable, timestamped logs from any smart-locker system so an investigation doesn’t depend on manually cross-referencing two separate systems
A typical workflow looks like this: a resident reports a missing package, the office pulls the locker’s retrieval log for that unit number, matches the timestamp to the identification camera, and exports a short clip alongside the log entry. That evidence package usually closes the dispute the same day.
Camera Costs and ROI for a Package Room
A standard two-camera setup runs $1,200 to $2,500 in hardware, installation, and a share of shared NVR or VMS licensing. Costs climb with longer cable runs, additional cameras for large or multi-room layouts, and higher-end analytics packages.
The math property managers actually run: if your leasing office spends even three hours a week fielding package disputes, at a fully loaded staff cost of $25 to $30 an hour, that’s $4,000 to $4,700 a year in labor. A camera system that cuts dispute time in half often pays for itself within a single lease cycle.
Size your storage to your dispute-resolution window, not just your budget. Thirty days of retention covers most complaints, but properties with slower resident turnover or frequent third-party carrier disputes should plan for 60 to 90 days.
How to Install and Test Your Package Room Cameras
- Survey the room — measure sight lines from each proposed mounting point, confirm power and network access exist near those points, and flag tamper risks like low ceilings or accessible ladders.
- Write the procurement spec — document resolution requirements, low-light performance, mounting hardware, analytics needs, and exactly which access-control or locker system the cameras must integrate with.
- Install — mount hardware at the heights above, run wiring through conduit, test angles under actual room lighting, apply privacy masking to any adjacent private area in frame, and pair triggers with your access-control and locker events.
- Validate before handoff — generate a locker-door-open event and confirm the VMS tags the correct clip with a matching timestamp on the access log; this end-to-end test is what separates a working system from one that just looks installed.
- Operate ongoing — schedule quarterly audits, keep firmware updated, and enforce your stated retention window instead of letting footage silently expire or overwrite early.
Pro Tip: Do the event-correlation test with the vendor on-site before final sign-off, not after. If the timestamps don’t match once installers have left, you’re troubleshooting alone.
How Postal Solutions Turns Camera Setups Into a Working System
Cameras only solve half the problem. Someone still has to organize the room daily, log what’s inside, and keep the pickup area from turning into a pile of unclaimed boxes. Postal Solutions handles that operational side directly: managing daily package organization, running weekly audits, and highlighting unit numbers so residents find their packages without staff intervention.
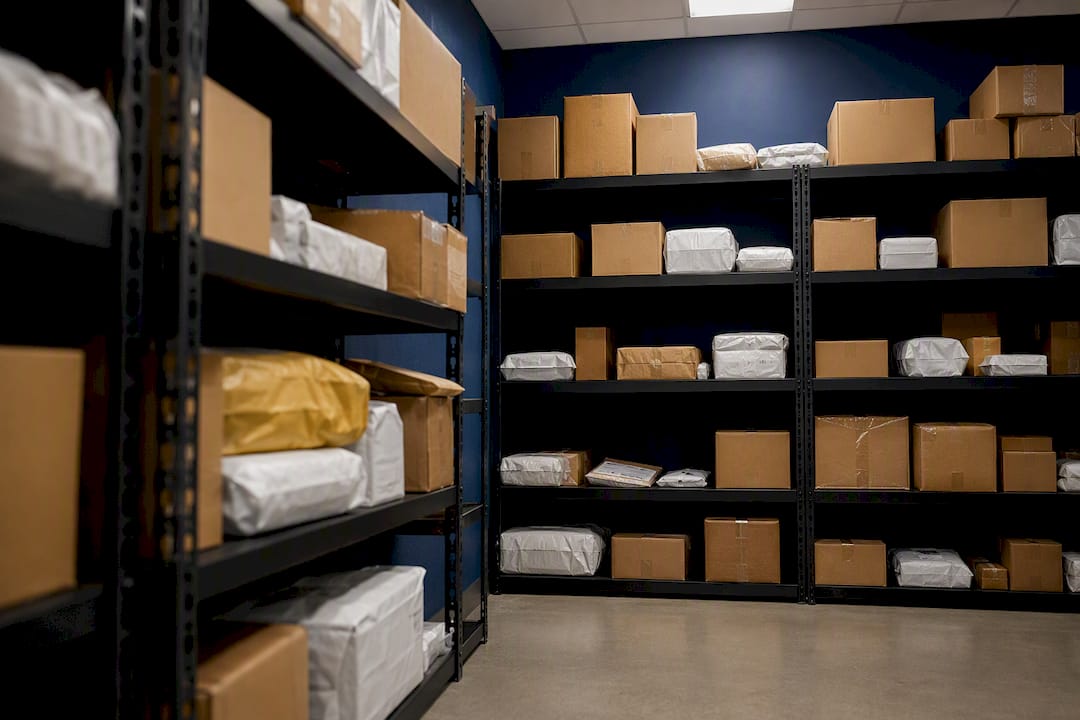
When a room needs an upgrade rather than a manual process, Postal Solutions also sells and installs Luxer One locker systems, pairing the camera and access-control model this guide describes with credentialed, automated pickup. Daily organization and weekly audits give your camera footage context. Instead of reviewing hours of video to find one missing box, you already know it was logged, shelved, and never picked up.
If you’re weighing a managed package room or a full Luxer One installation, Postal Solutions can walk your property through a site assessment and quote.
Sources
- Package Room Security Cameras for Multifamily Properties
- How To Set Up A Package Room In 2026 | Swiftlane
FAQ
How Do You Use a Smart Package Room?
Residents typically receive a notification when a package arrives, then use a credential (code, app, or badge) to unlock the room or their specific locker compartment. Camera footage and the access log both timestamp the moment they enter, which is what makes disputes fast to resolve.
What Are the Best Security Cameras for Apartment Complexes?
For package rooms specifically, the best setup is a wide-view camera covering the entry and shelving plus a dedicated 4K or 4MP identification camera at the pickup point. Resolution and mounting height at the pickup area matter more than any single brand or model.
What Is a Luxer Package Room?
A Luxer One package room is a secure, credentialed room or locker bank where carriers deliver packages and residents retrieve them using an access code or app, with the system logging every entry and retrieval event. Postal Solutions sells, installs, and manages these systems across student housing and multifamily properties nationwide.
What Security Cameras Do Retail Stores Use?
Retail stores generally rely on a mix of wide-coverage overhead cameras and focused cameras at points of sale or high-value displays, the same wide-plus-focused logic package rooms use. The key difference is that package rooms need the identification camera positioned specifically at the pickup point rather than a register.
How Many Cameras Does a Package Room Need?
Two cameras is the standard minimum: one wide overview and one focused identification camera at the pickup point. A single fisheye camera can substitute for the wide-view unit in very small rooms, but it should still be paired with a dedicated identification camera.